Overview
A wireless doorbell camera is a smart home device that allows you to monitor and communicate with visitors at your door from your smartphone, tablet, or computer. It is a great addition to any home security system, as it provides you with an extra layer of protection against potential intruders.
Installing a wireless doorbell camera is a straightforward process that can be completed in just a few easy steps. Here’s what you need to do:
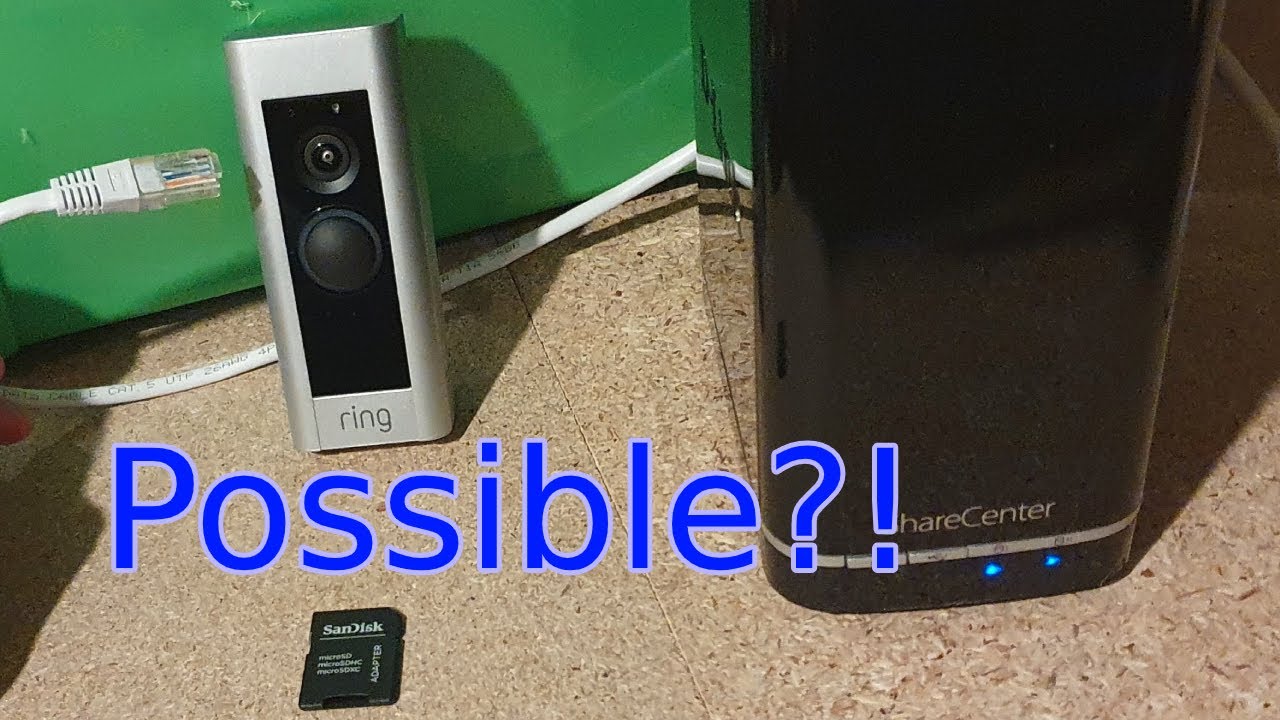
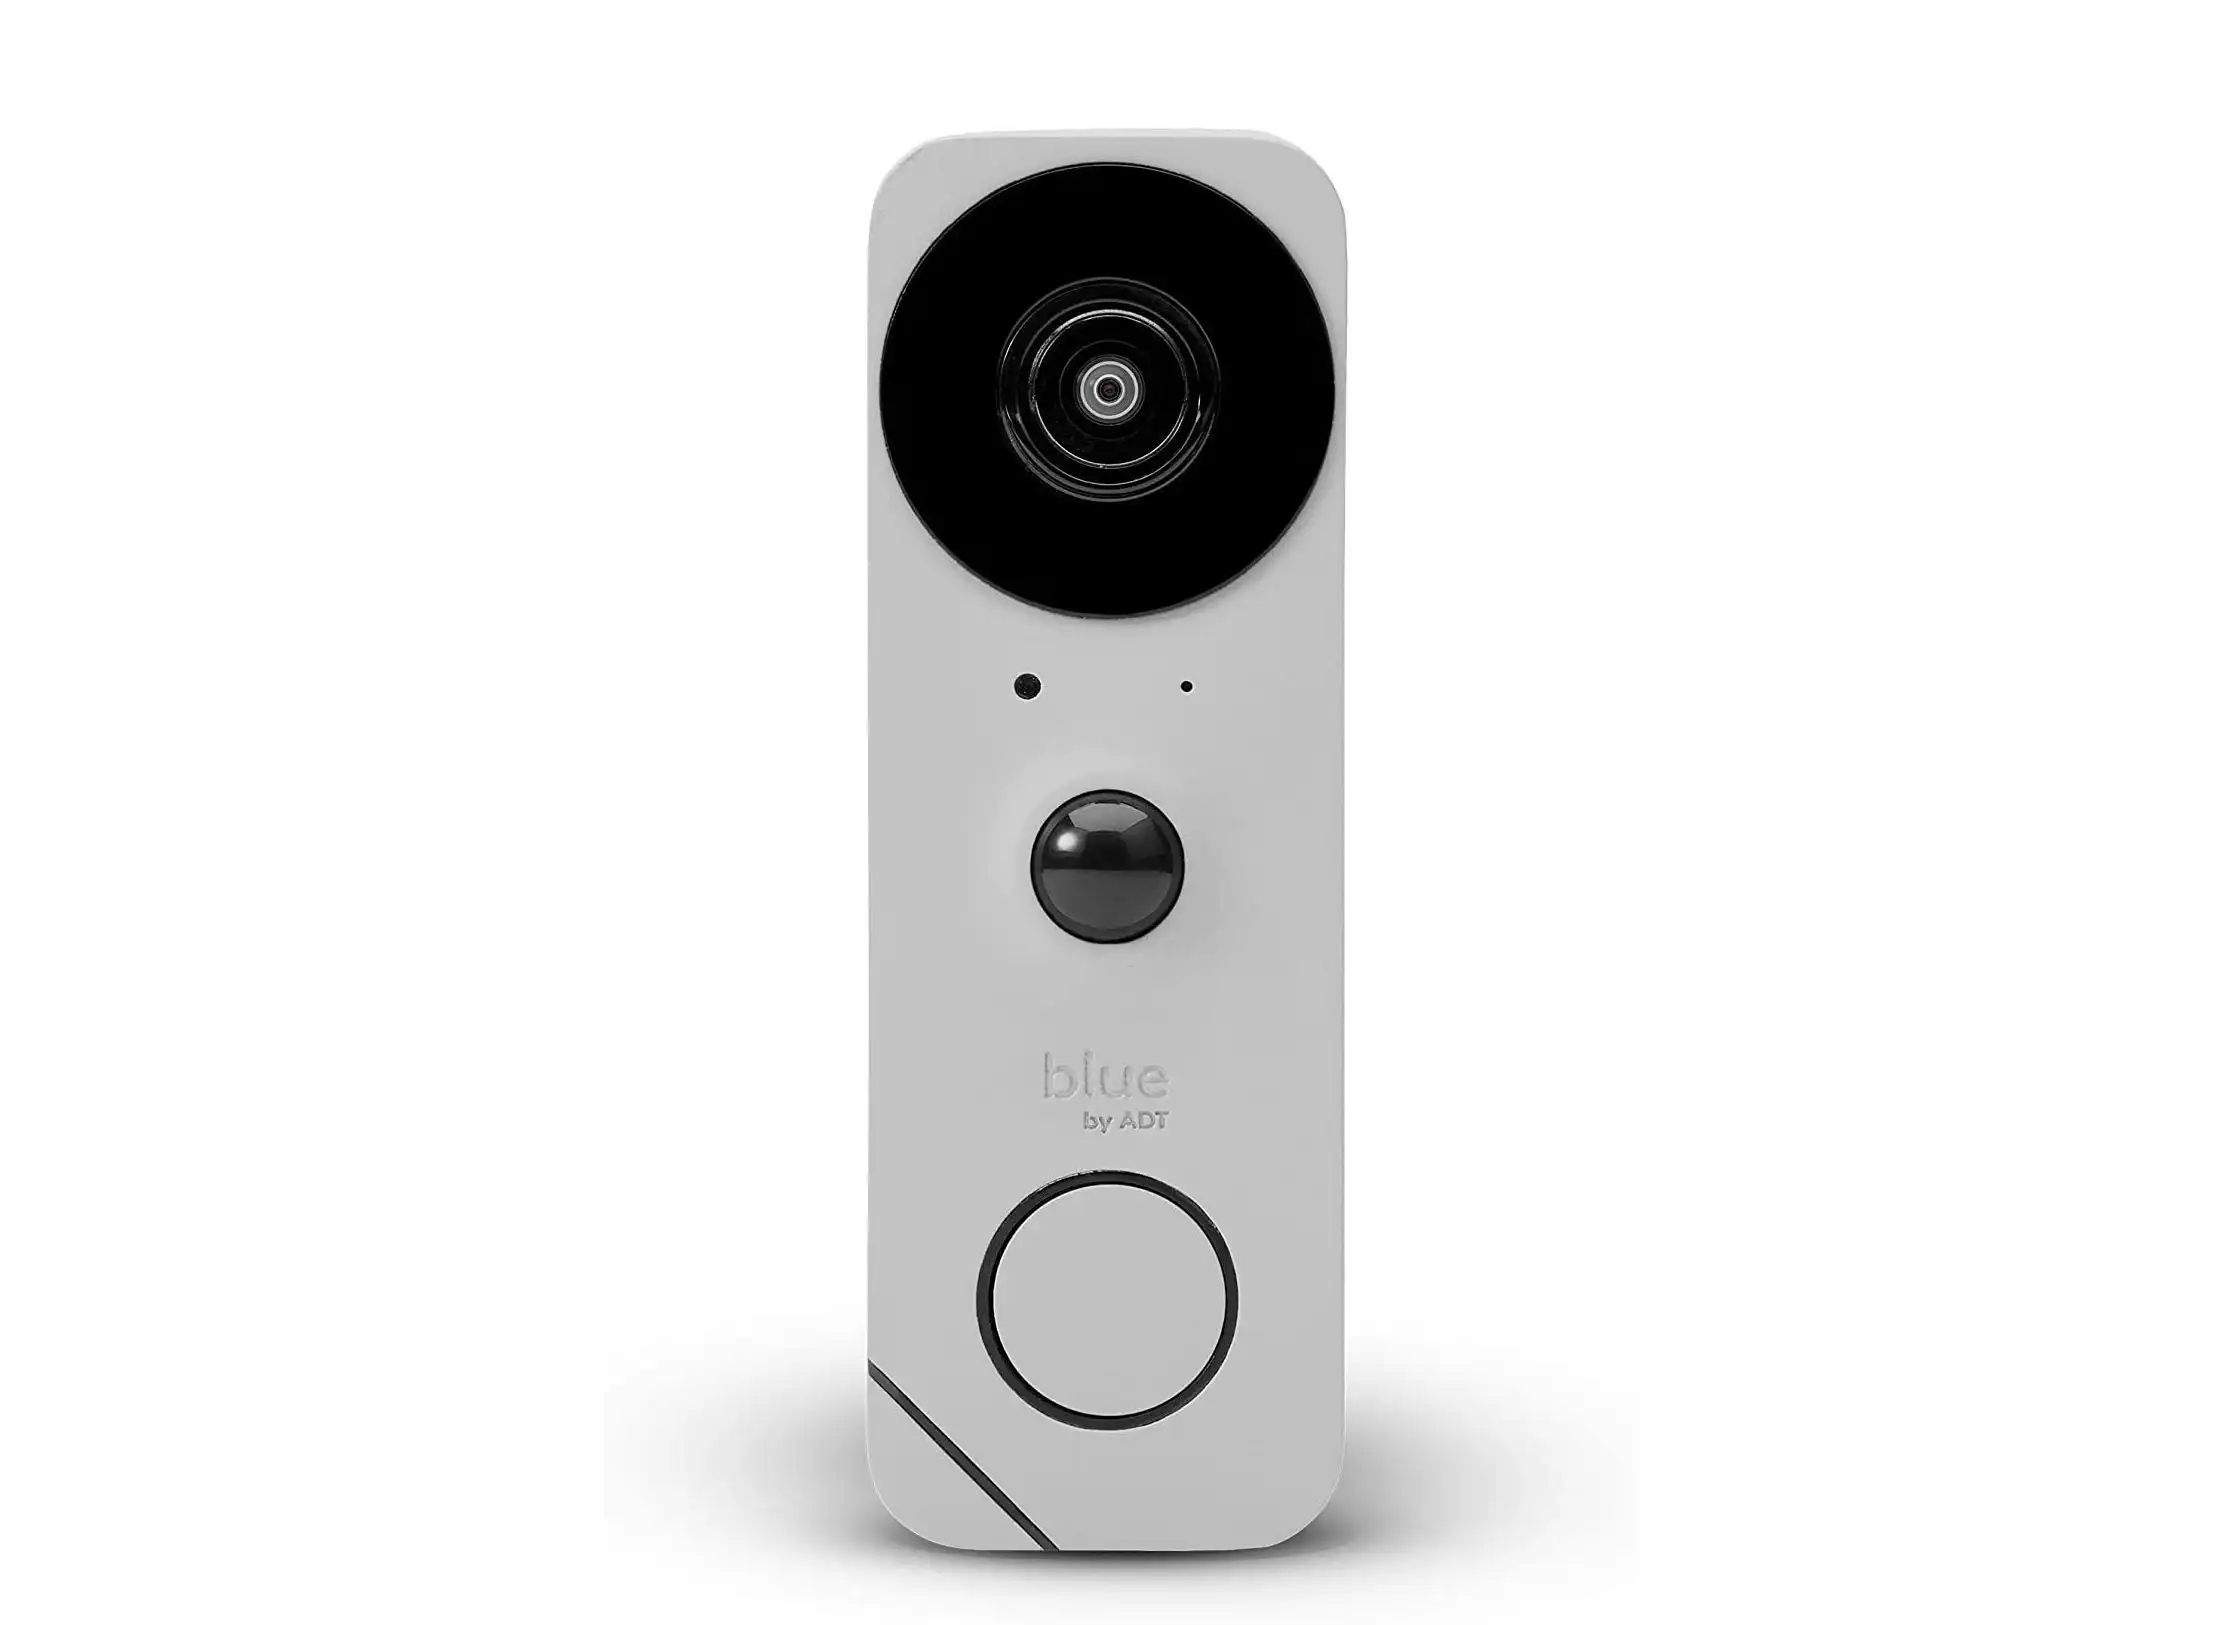
Step 1: Choose the Right Wireless Doorbell Camera
The first step in installing a wireless doorbell camera is to choose the right device for your needs. There are many different models available on the market, so it’s important to do your research and find one that suits your specific requirements. Look for a camera that has features like HD video recording, motion detection, night vision, and two-way audio communication.
Step 2: Install the Mobile App
Once you have your wireless doorbell camera, you will need to install the mobile app that goes with it. This app allows you to access the camera’s features and monitor activity at your front door from your smartphone or tablet. The app can usually be downloaded for free from the App Store or Google Play.
Step 3: Charge the Battery
Most wireless doorbell cameras come with rechargeable batteries that need to be charged before use. Follow the manufacturer’s instructions for charging the battery, which typically involves plugging it into a wall outlet using the supplied charging cable.
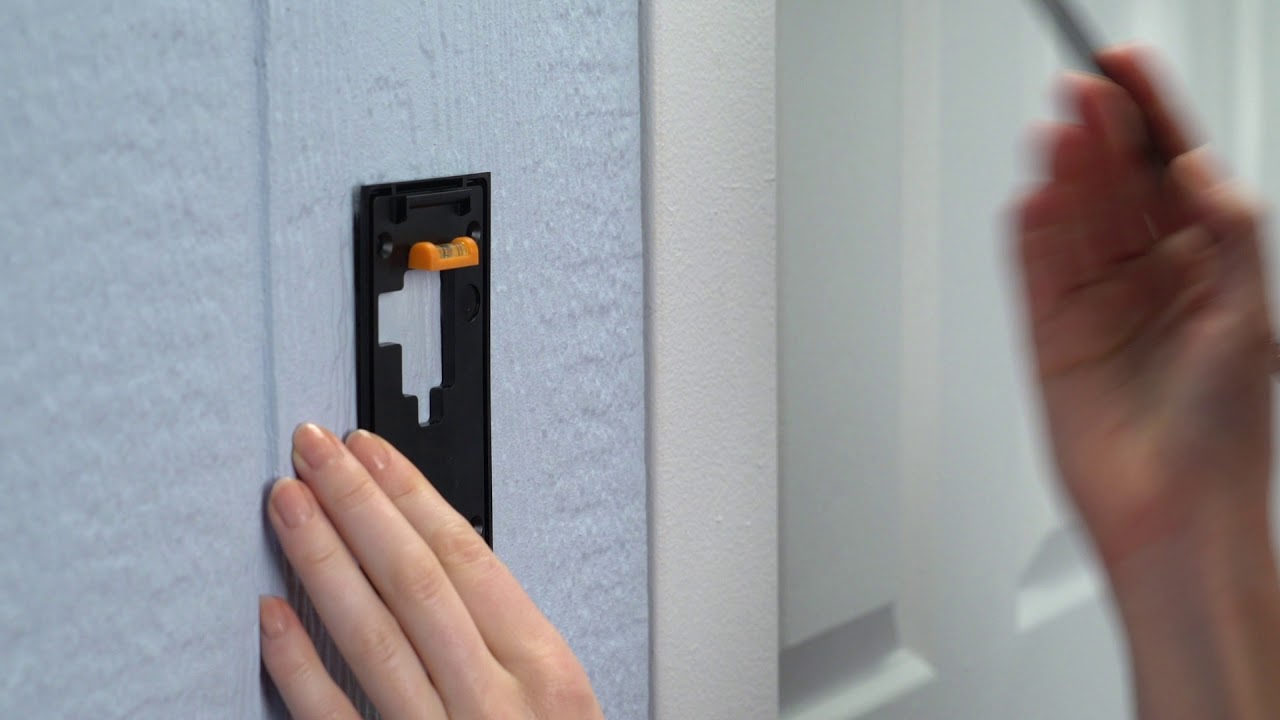
Step 4: Mount the Camera on Your Door
Once the battery is charged, it’s time to mount the camera on your door. Most cameras come with mounting brackets and screws that make installation easy. Follow the manufacturer’s instructions for mounting the camera, making sure that it is positioned at the right height and angle for optimal viewing.
Step 5: Connect the Camera to Your Wi-Fi Network
After the camera is mounted, you will need to connect it to your home Wi-Fi network. This is usually done through the mobile app, which guides you through the process of entering your Wi-Fi network name and password.
Step 6: Test the Camera
Once the camera is connected to your Wi-Fi network, test it to make sure that it is working properly. Use the mobile app to view live video from the camera, and test the two-way audio communication feature to make sure that you can hear and speak to visitors at your door.
FAQs
Q: Do I need to have a smart home system to use a wireless doorbell camera?
A: No, you don’t need a smart home system to use a wireless doorbell camera. However, you will need a smartphone or tablet to access the camera’s features and monitor activity at your front door.
Q: Can I install a wireless doorbell camera myself?
A: Yes, installing a wireless doorbell camera is a simple process that can be completed by most homeowners.
Q: Can I use a wireless doorbell camera if I have a metal front door?
A: Yes, you can use a wireless doorbell camera with a metal front door. However, you may need to use a special mounting bracket or adhesive to attach the camera to the door.
Conclusion
Installing a wireless doorbell camera is a great way to enhance the security of your home. With just a few easy steps, you can add an extra layer of protection against potential intruders and monitor activity at your front door from anywhere, at any time. By following the steps outlined in this guide, you can install a wireless doorbell camera quickly and easily, and enjoy the peace of mind that comes with knowing that your home is protected.