Overview
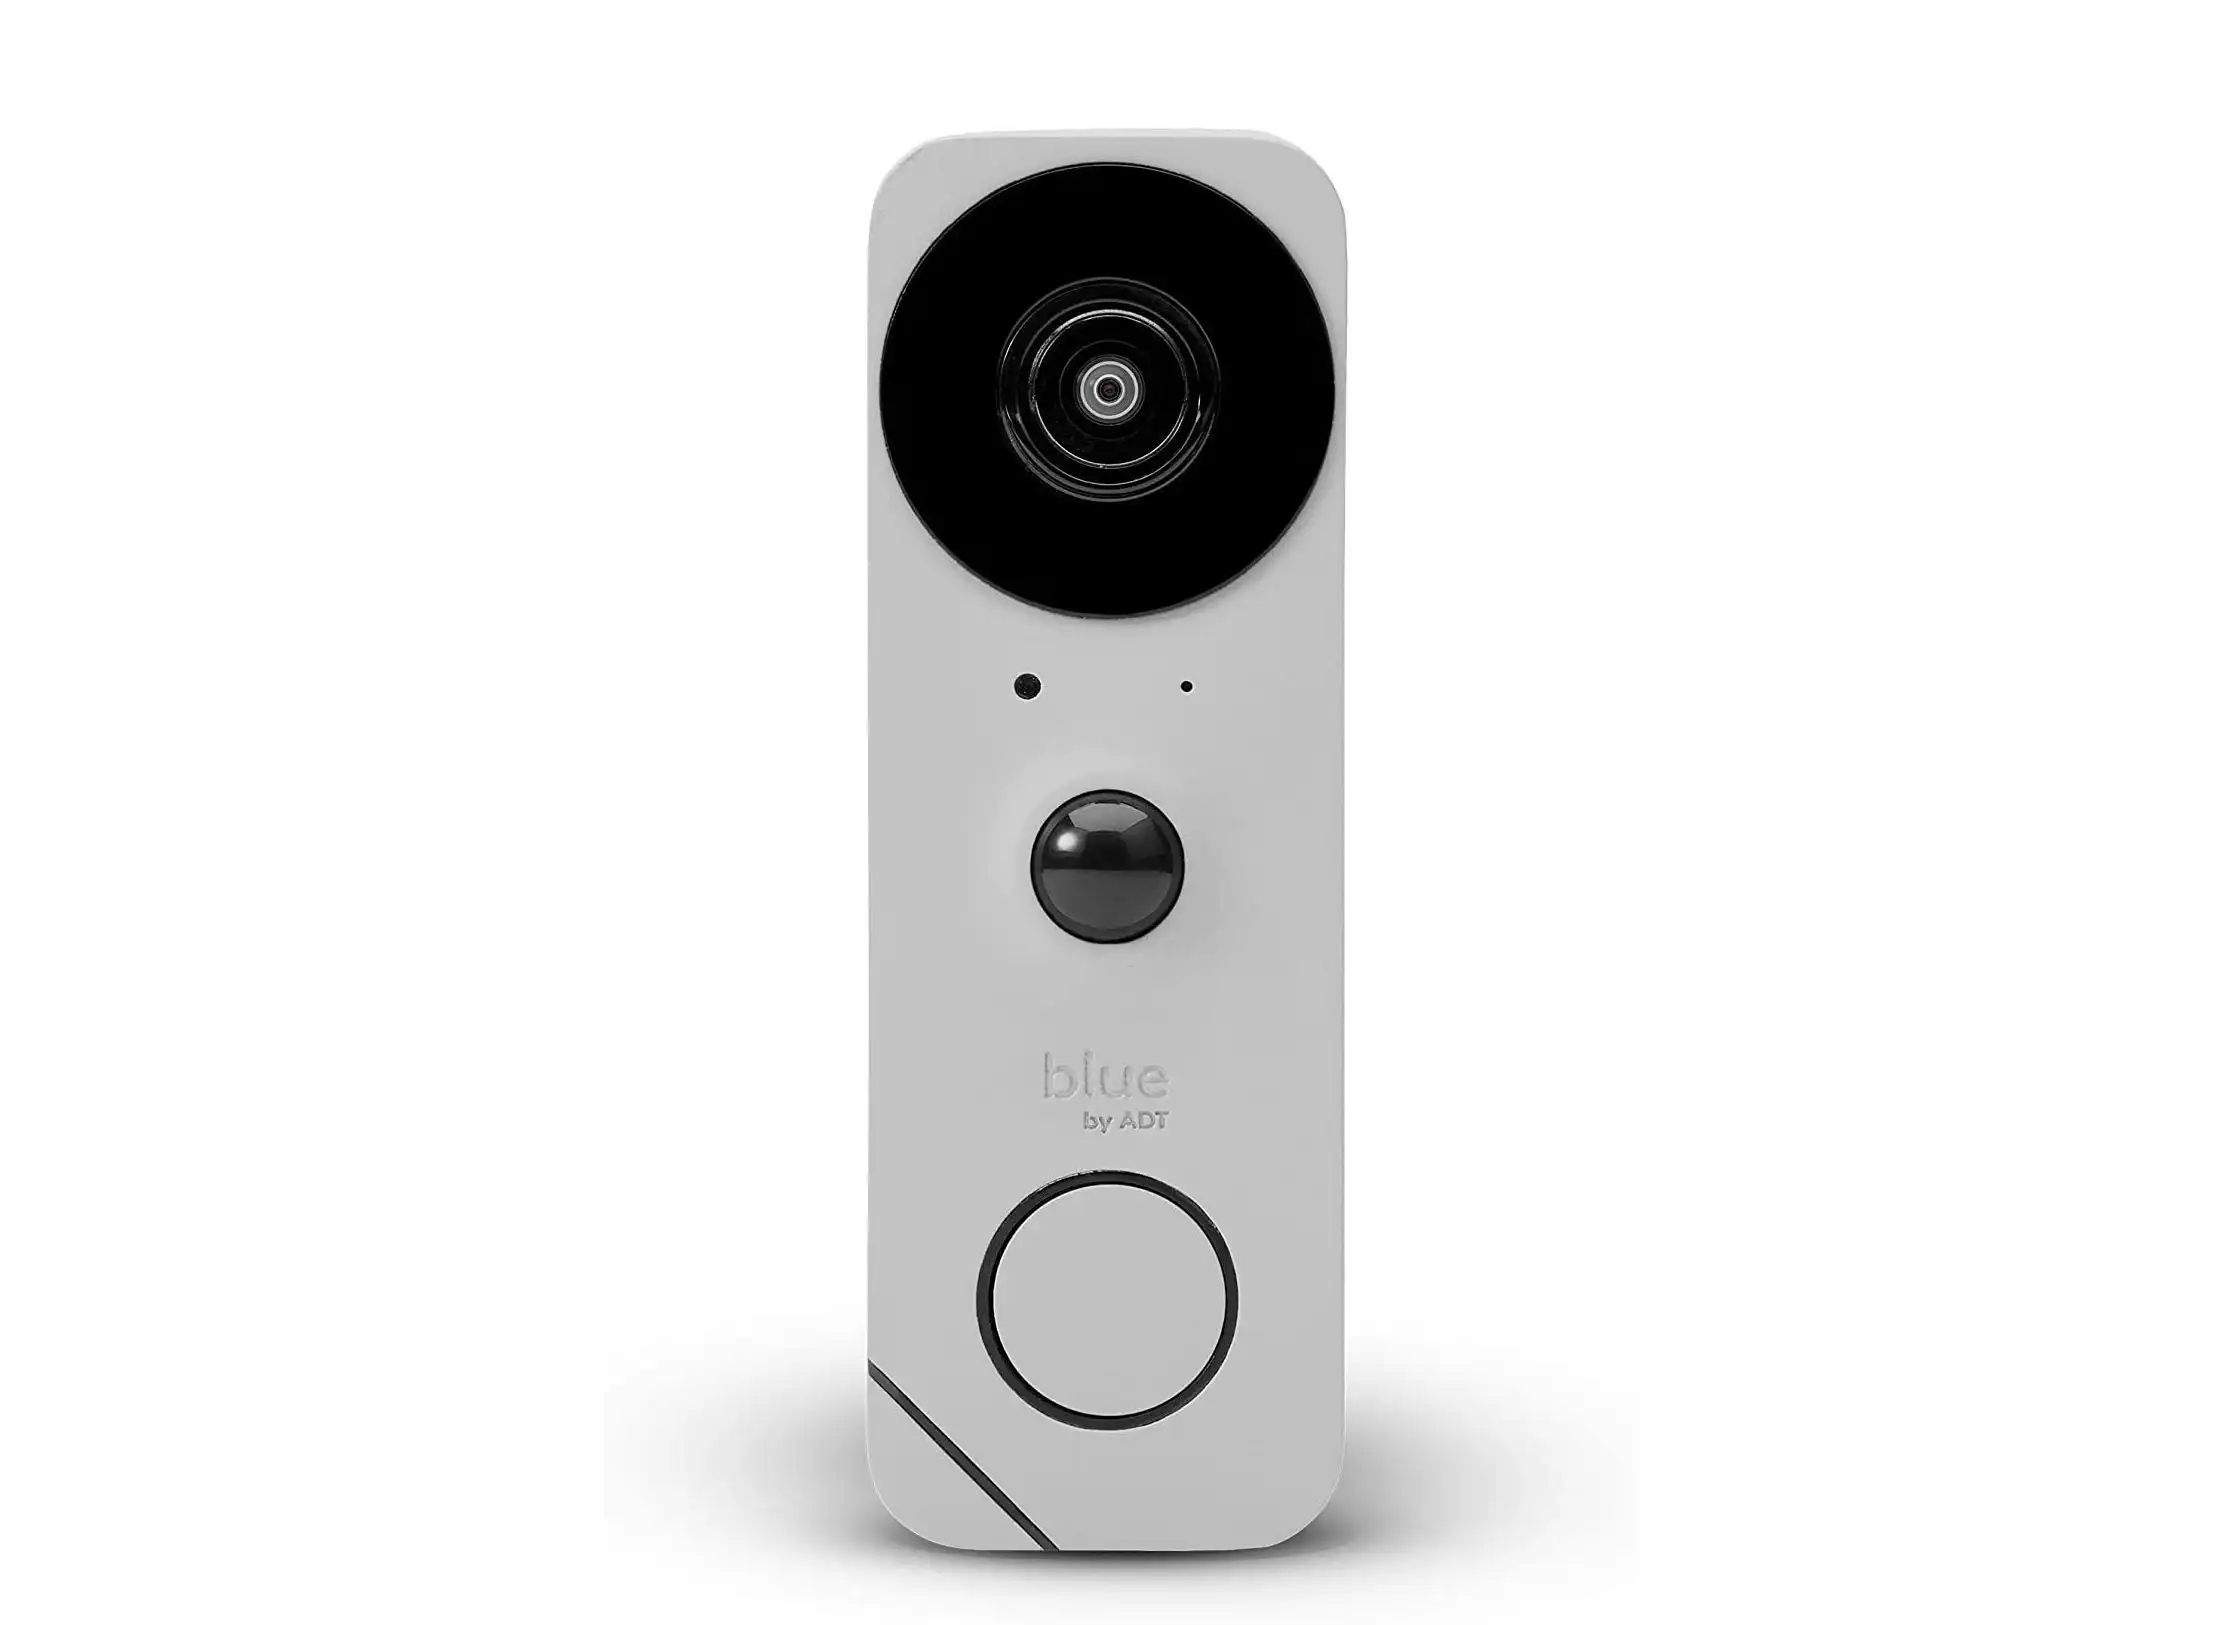
ADT is a popular brand for home security systems, including doorbell cameras. These devices allow you to monitor your front porch from anywhere, providing you with security and peace of mind. However, sometimes you may need to change the WiFi on your ADT doorbell camera due to various reasons, such as moving to a new house or upgrading your internet plan.
Changing the WiFi on your ADT doorbell camera can be intimidating, especially if you’re not tech-savvy. But don’t worry, this guide will take you through the process, step-by-step, to help make it as easy as possible.
How to Change WiFi on ADT Doorbell Camera
Step 1: Locate the Reset Button on Your Doorbell Camera
The first step in changing the WiFi on your ADT doorbell camera is to locate the reset button on the device. This button is typically located on the back or bottom of the camera and may be labeled as “reset” or “restart.”
Step 2: Press and Hold the Reset Button
Once you’ve located the reset button, press and hold it for at least 15 seconds. This will reset the camera to its default settings, including erasing any previously saved WiFi network information.
Step 3: Connect Your Phone to the Doorbell Camera’s WiFi Network
After resetting the camera, it will enter into pairing mode, and its WiFi network will be available for connection. To connect to the camera’s WiFi network, go to your phone’s WiFi settings and look for a network with a name similar to “ADT Doorbell Camera.”
Step 4: Launch the ADT Doorbell App
Once your phone is connected to the doorbell camera’s WiFi network, launch the ADT Doorbell app. If you haven’t already, create an account and sign in to the app.
Step 5: Add a New Device
Once you’re in the app, tap on the “Add Device” button. The app will guide you through the pairing process, which involves scanning the QR code on the back of the camera and following the on-screen instructions.
Step 6: Enter Your New WiFi Network Information
During the pairing process, the app will prompt you to enter the credentials for your new WiFi network. Make sure you enter the correct information to ensure a successful connection.
Step 7: Test the Connection
Once you’ve entered your new WiFi network information, the app will attempt to connect to the camera. If the connection is successful, you’ll be able to see a live stream from the camera in the app.

FAQs
Q: What if I forget my ADT Doorbell Camera’s WiFi network password?
A: If you forget your ADT Doorbell Camera’s WiFi network password, you’ll need to reset the camera to its default settings and then reconnect it to your WiFi network using the steps outlined above.
Q: What if my doorbell camera doesn’t enter pairing mode after resetting it?
A: If your doorbell camera doesn’t enter pairing mode after resetting it, try resetting it again, making sure to hold down the reset button for at least 15 seconds.
Q: What if I’m still having trouble connecting my doorbell camera to my WiFi network?
A: If you’re still having trouble connecting your doorbell camera to your WiFi network, contact ADT customer support for assistance.
Conclusion
Changing the WiFi on your ADT doorbell camera can be a bit of a daunting task, but with the right guidance, it’s a pretty straightforward process. By following the steps outlined above, you should be able to connect your doorbell camera to your new WiFi network in no time. If you run into any issues, don’t hesitate to reach out to ADT customer support for assistance.